Print files from your Linux terminal:

How to Use the Linux Command Line for Printing, Linux makes printing simple, but there are moments when it seems like a lot of work to open a file, start an application, locate the Print option in the menu, press a confirmation button, and so on. As a Linux terminal user, you frequently want to be able to execute intricate tasks using straightforward triggers. Although printing is complicated, the lpr command is one of the easiest to use.
Print using the lpr command:
To print a file from your terminal, use the lpr command:
$ lpr myfile.odtShould that fail, you need to set a default printer or specify a printer manually.
Setting a default printer:
Use the Linux Command Line for Printing, Linux makes printing simple, but there are moments when it seems like a lot of work to open a file, start an application, locate the Print option in the menu, press a confirmation button, and so on. As a Linux terminal user, you frequently want to be able to execute intricate tasks using straightforward triggers. Although printing is complicated, the lpr command is one of the easiest to use.
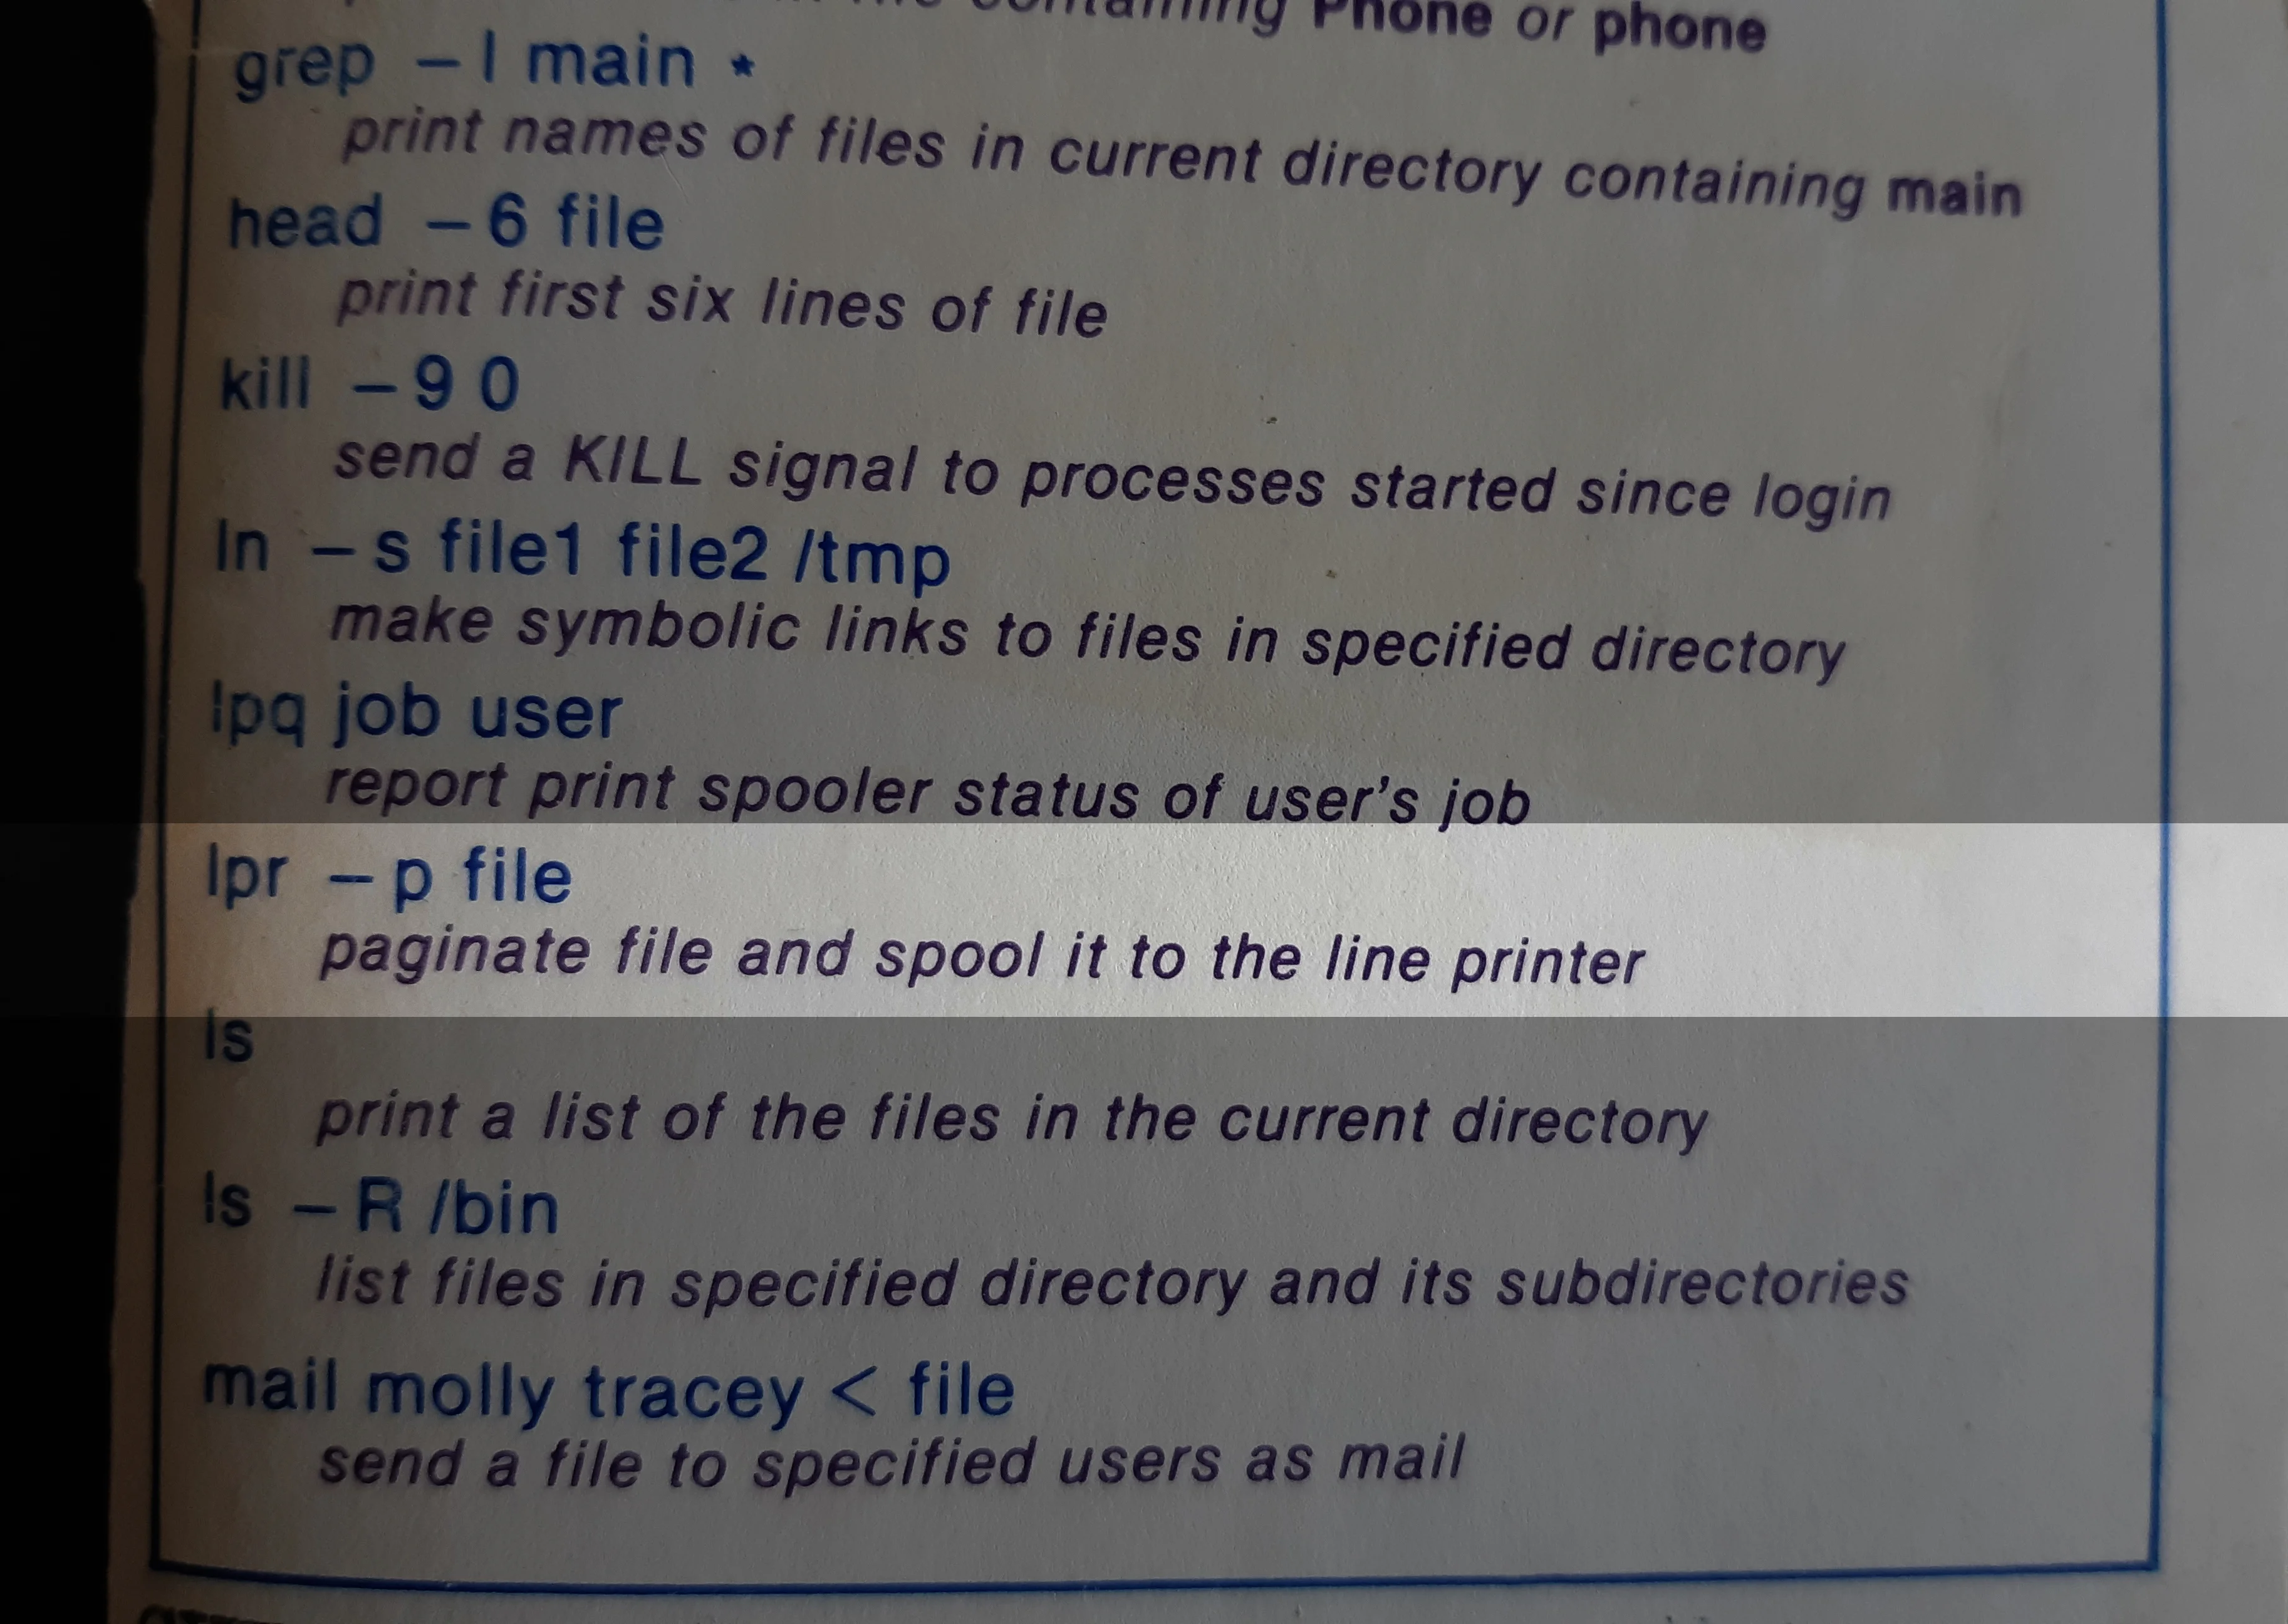
Figure 1: The lpr command.
These days, with modern computers presumably having access to multiple printers, and certainly to printers far more complex than a dot-matrix line printer, the real lpr command is insufficient. The Common Unix Printing System (CUPS) is a subsystem that manages all the printers you want your computer to be able to connect to, as well as the driver your computer should be using to connect to each printer, which printer to use by default, and other details. By referring to your Common Unix Printing System (CUPS) setup first, you can print from a terminal using the lpr.cups or lpr-cups commands, which come with CUPS and are typically symlinked to lpr.
You must first select a default printer in order to print a file using LPR. In the printer settings of your system, you can designate a default printer:
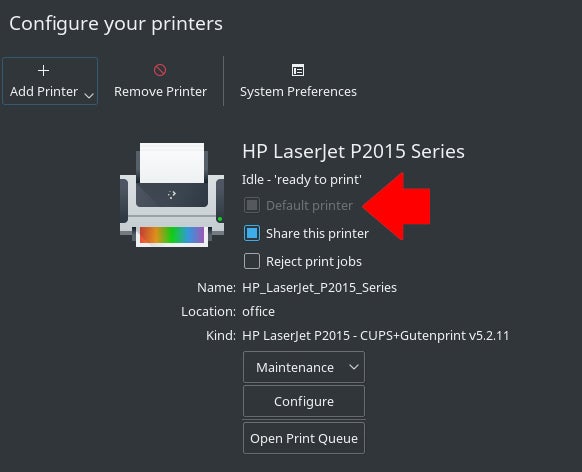
Figure 2: Set a default printer.
Alternately, you can mark a printer as the default with the lpadmin command:
$ sudo lpadmin -d HP_LaserJet_P2015_Series
$ lpstat -v
device for HP_LaserJet_P2015_Series: ipp://10.0.1.222:631/printers/HP_LaserJet_P2015_Series
Setting a default destination with environment variables:
Changing print destinations is a privileged job, so you are not allowed to create your own default printer on systems where you do not have an admin account. Prior to referencing CUPS for a destination, lpr asks your system for the environment variable called Primary.
The printer in this case is named HP LaserJet P2015 Series in a human-readable manner. Put that number in the PRINTER:
$ PRINTER=HP_LaserJet_P2015_Series
$ export PRINTER
Once the PRINTER variable has been set, you can print:
$ lpr myfile.pdfGet a list of attached printers:
You can see all the printers that are accepting print jobs and that are attached to your system with the lpstat command:
$ lpstat -a
HP_LaserJet_P2015_Series accepting requests since Sun 1 Aug 2021 10:11:02 PM NZST
r1060 accepting requests since Wed 18 Aug 2021 04:43:57 PM NZST
Printing to an arbitrary printer:
Once you have added printers to your system, and now that you know how to identify them, you can print to any one of them, whether you have a default destination set or not:
$ lpr -P HP_LaserJet_P2015_Series myfile.txtHow printers are defined:
Use a web browser like Firefox to access CUPS’s user-friendly front end. It’s actually a service operating locally on your computer (a location called localhost) on port 631, despite the fact that it looks and feels like a web browser. Your computer’s attached printers are managed by CUPS, which keeps track of its configuration in /etc/cups/printers.conf.
The printers.conf file consists of definitions detailing the printing devices your computer can access. You’re not meant to edit it directly, but if you do, then you must stop the cupsd daemon first.
A typical entry looks something like this:
<Printer r1060>
  Info Ricoh 1060
  Location Downstairs
  MakeModel Ricoh Aficio 1060 - CUPS+Gutenprint v5.2.6
  DeviceURI lpd://192.168.4.8
  State Idle
  StateTime 1316011347
  Type 12308
  Filter application/vnd.cups-raw 0 -
  Filter application/vnd.cups-raster 100 rastertogutenprint.5.2
  Accepting Yes
  Shared No
  JobSheets none none
  QuotaPeriod 0
  PageLimit 0
  KLimit 0
  OpPolicy default
  ErrorPolicy stop-printer
</Printer>
In this example, the printer’s name is r1060, a human-readable identifier for a Ricoh Aficio 1060.
The list of available printer drivers on your system is provided by the lpinfo command, from which the MakeModel attribute is derived. Assuming you are aware that you wish to print to a Ricoh Aficio 1060, you would type the following command:
$ lpinfo -m | grep 1060
gutenprint.5.2://brother-hl-1060/expert Brother HL-1060 - CUPS+Gutenprint v5.2.11
gutenprint.5.2://ricoh-afc_1060/expert Ricoh Aficio 1060 - CUPS+Gutenprint v5.2.11
This command lists the relevant drivers you have installed.
The MakeModel is the last half of the result. In this example, that’s Ricoh Aficio 1060 - CUPS+Gutenprint v5.2.11.
The DeviceURI attribute identifies where the printer is found on the network (or physical location, such as the USB port). In this example, the DeviceURI is lpd://192.168.4.8 because I’m using the lpd (line printer daemon) protocol to send data to a networked printer. On a different system, I have an HP LaserJet attached by a USB cable, so the DeviceURI is DeviceURI hp:/usb/HP_LaserJet_P2015_Series?serial=00CNCJM26429.
Printing from the terminal:
Sending a job to a printer is an easy process, as long as you understand the devices attached to your system and how to identify them. Printing from the terminal is fast, efficient, and easily scripted or done as a batch job. Try it out!
Conclusion:
Use the Linux Command Line for Printing on Linux systems is the standards-based, open source printing system called CUPS, originally standing for Common Unix Printing System. It allows a computer to act as a print server.